
Pretty! This has been an extremely wonderful post. Many thanks for supplying this information.

AUGUST 15, 2019

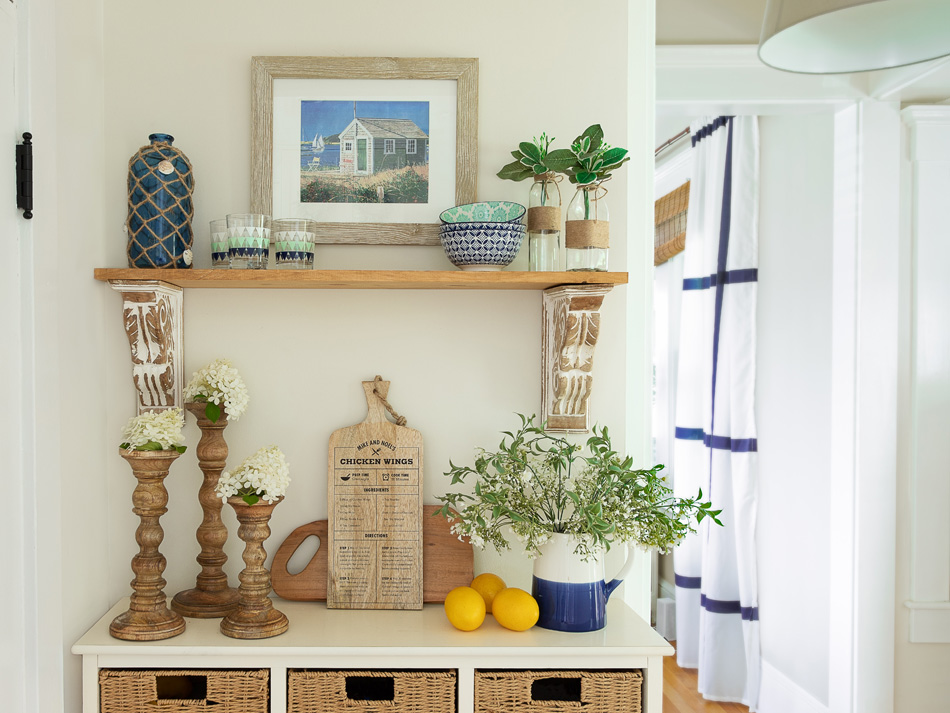
With the raising popularity of wood cutting boards being used in kitchen displays, we decided to customize one as a gift for a family friend this week! Using their famous Chinese chicken wing recipe, we first designed the layout, printed it and then transferred the image onto a board using Polycrylic. You may recall our previous blog here on how we used mod podge to transfer our farmhouse images onto a wooden plaque. This time around we decided to use Polycrylic to see if it would be any easier to do the transfer. So you can also do the project, we have provided a free, generic printable for download of this recipe.
Click here for the cutting board
220 grit sandpaper
Polycrylic
Foam brush
Laser printer
8.5 x 14 legal paper
Make sure you purchase a smooth board. The one we are using here from the Christmas Tree Shop is already pretty smooth but we decided to give it a quick sanding with 220 grit paper before starting the project. The smoother the wood, the better your graphics will adhere. Wipe the board clean.
Print the downloadable file which we reversed so the image will appear correctly on the board. In order for the text to show properly, when doing a transfer, you have to reverse print or mirror the image. All you need to do is print it on 8.5 x 14 paper using a laser printer. If you don’t have a laser printer, a local print shop will be able to print you a copy and it’s really inexpensive. Our local staples only cost $0.17 for a black and white 8.5 x 14 print.
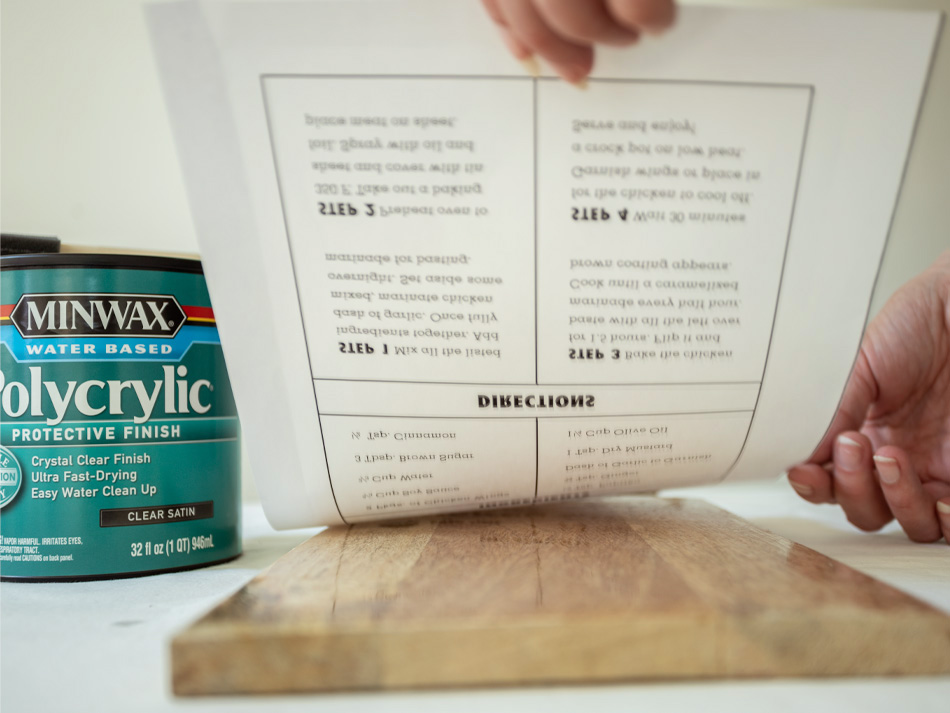
Place your image in the middle of your board and use a small piece of tape in the two upper corners. Placing your image while the board is dry is much easier than placing it after you have applied the polycrylic. Next, flip the paper back exposing your board.
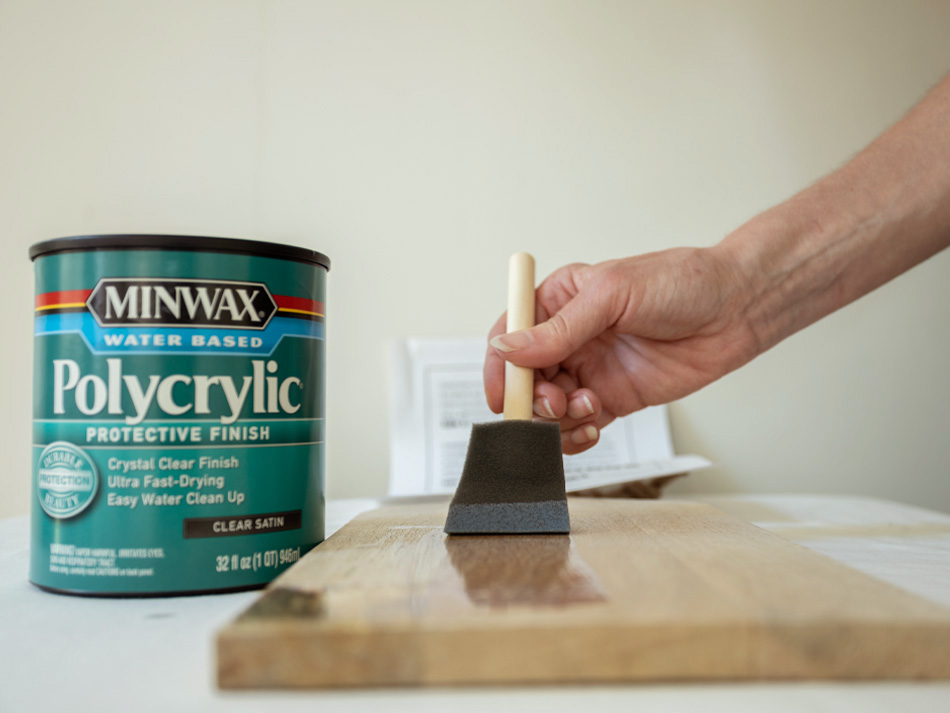
Generously apply the polycrylic with your foam brush. Next, flip the paper back over onto the board and press down from top to bottom using a credit card to smooth it out as you go along.
Allow the artwork to sit for at least 2 hours before removing the paper. With mod podge it is recommended to wait 24 hours, so this is certainly a much quicker process!
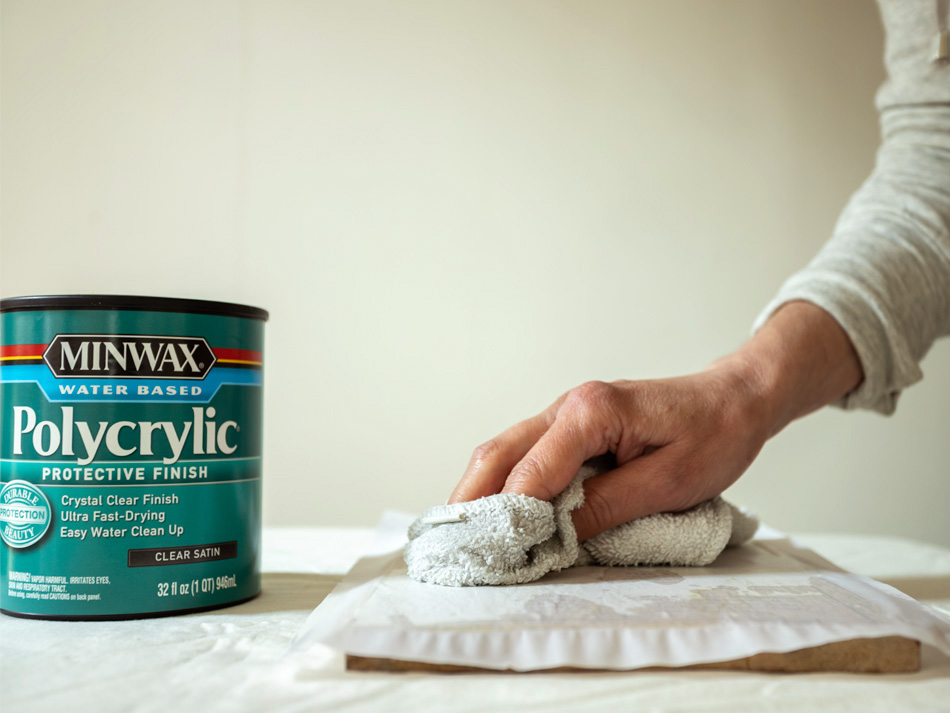
After waiting 2 hours, get a wet cloth and start dabbing the board. You will begin to see the image come through. Allow it to sit for 5 minutes while continuing to wet it with your cloth.
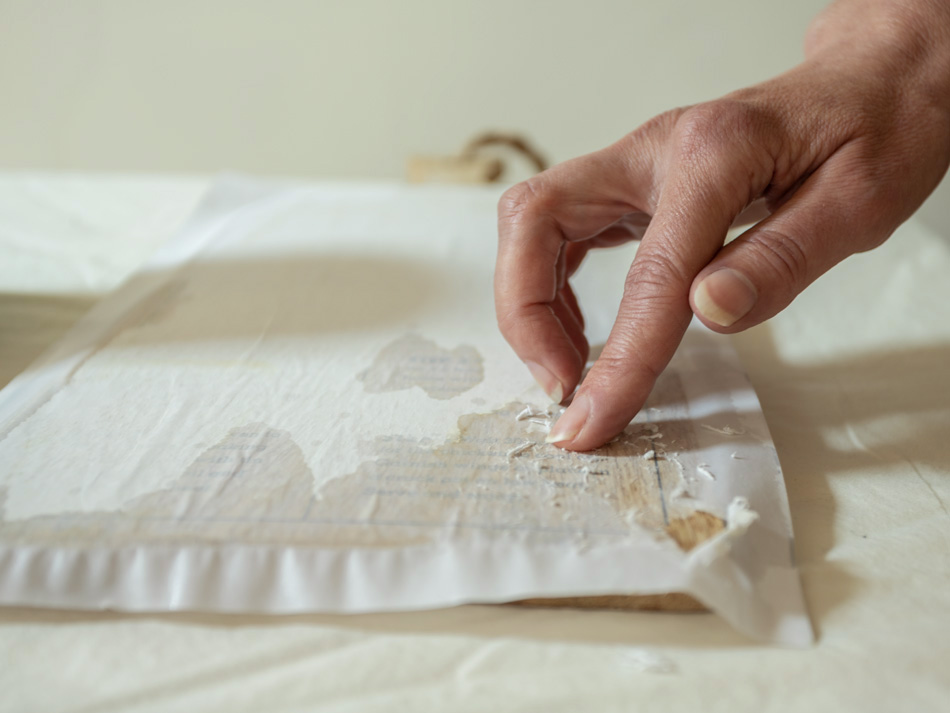
Start rubbing the paper away in gentle, circular motions. Be mindful not to rub too hard. As a result, it could take the ink off. Allow the board to dry and repeat this process several times until the paper is totally removed. It does take some patience to get the paper fully off. Make sure not to leave puddles of water on the board. This can cause it to warp. If some of the transfer comes off, you can leave as is for a more rustic look or you can touch it up with permanent marker.
Once the paper is completely removed and your board is dry, apply another layer of polycrylic to ensure longevity. In conclusion, we decided the polycrylic was faster and easier, therefore, making it the winner for transferring photos onto wood! Let us know if you try it and how it all worked out for you in the comments below.
Pretty! This has been an extremely wonderful post. Many thanks for supplying this information.
You’re very welcome! Glad it was helpful 🙂
Hello
Thanks for the great and simple tips. I did try to let the image dry for about 75 minutes. Bad idea! Should’ve wait at least 2 hours. I also took a bit of ink out by scrubbing. I can’t tell if i have to blame the short drytime or the rough scrub… lol
Definitively will be more patient and careful next time. Still better overall and quicker with Polycrylic than ModPodge.
Keep up the good work!!
Hi Fred!
Patience and lightly scrubbing is the key. We got a little impatient the first time as well! 2 hours seems to be the perfect amount of time to let it sit. Let us know how it comes out the next time. Thanks for following along!
@ct.home.designs

Pretty! This has been an extremely wonderful post. Many thanks for supplying this information.
You’re very welcome! Glad it was helpful 🙂
Hello
Thanks for the great and simple tips. I did try to let the image dry for about 75 minutes. Bad idea! Should’ve wait at least 2 hours. I also took a bit of ink out by scrubbing. I can’t tell if i have to blame the short drytime or the rough scrub… lol
Definitively will be more patient and careful next time. Still better overall and quicker with Polycrylic than ModPodge.
Keep up the good work!!
Hi Fred!
Patience and lightly scrubbing is the key. We got a little impatient the first time as well! 2 hours seems to be the perfect amount of time to let it sit. Let us know how it comes out the next time. Thanks for following along!